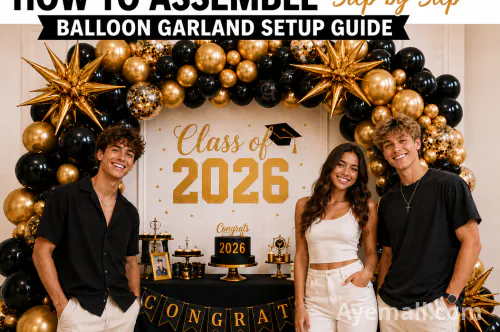


How to Assemble a Balloon Garland – Step-by-Step Setup Guide for the Black & Gold Balloon Arch Kit (available in multiple colors)
🛍️ Disclosure: This page contains affiliate links to the product on Amazon. As an Amazon Associate I earn from qualifying purchases. This means that if you click a link to read more and make a purchase, I may receive a small commission at no extra cost to you. Thank you!
Planning a graduation party, birthday celebration, prom night, anniversary, or retirement event?
✨ This Black and Gold Balloon Arch Kit makes it easy to create a luxury party atmosphere without hiring a professional decorator. With premium balloons, gold confetti accents, and eye-catching explosion star balloons, this kit instantly transforms any room into a stunning celebration space perfect for unforgettable photos and videos. 📸🖤💛 Multiple color options available for every celebration!
If you’ve never built a balloon garland before, don’t worry, this easy step-by-step balloon garland setup guide will help you create a beautiful professional-looking decoration right at home. 🎉
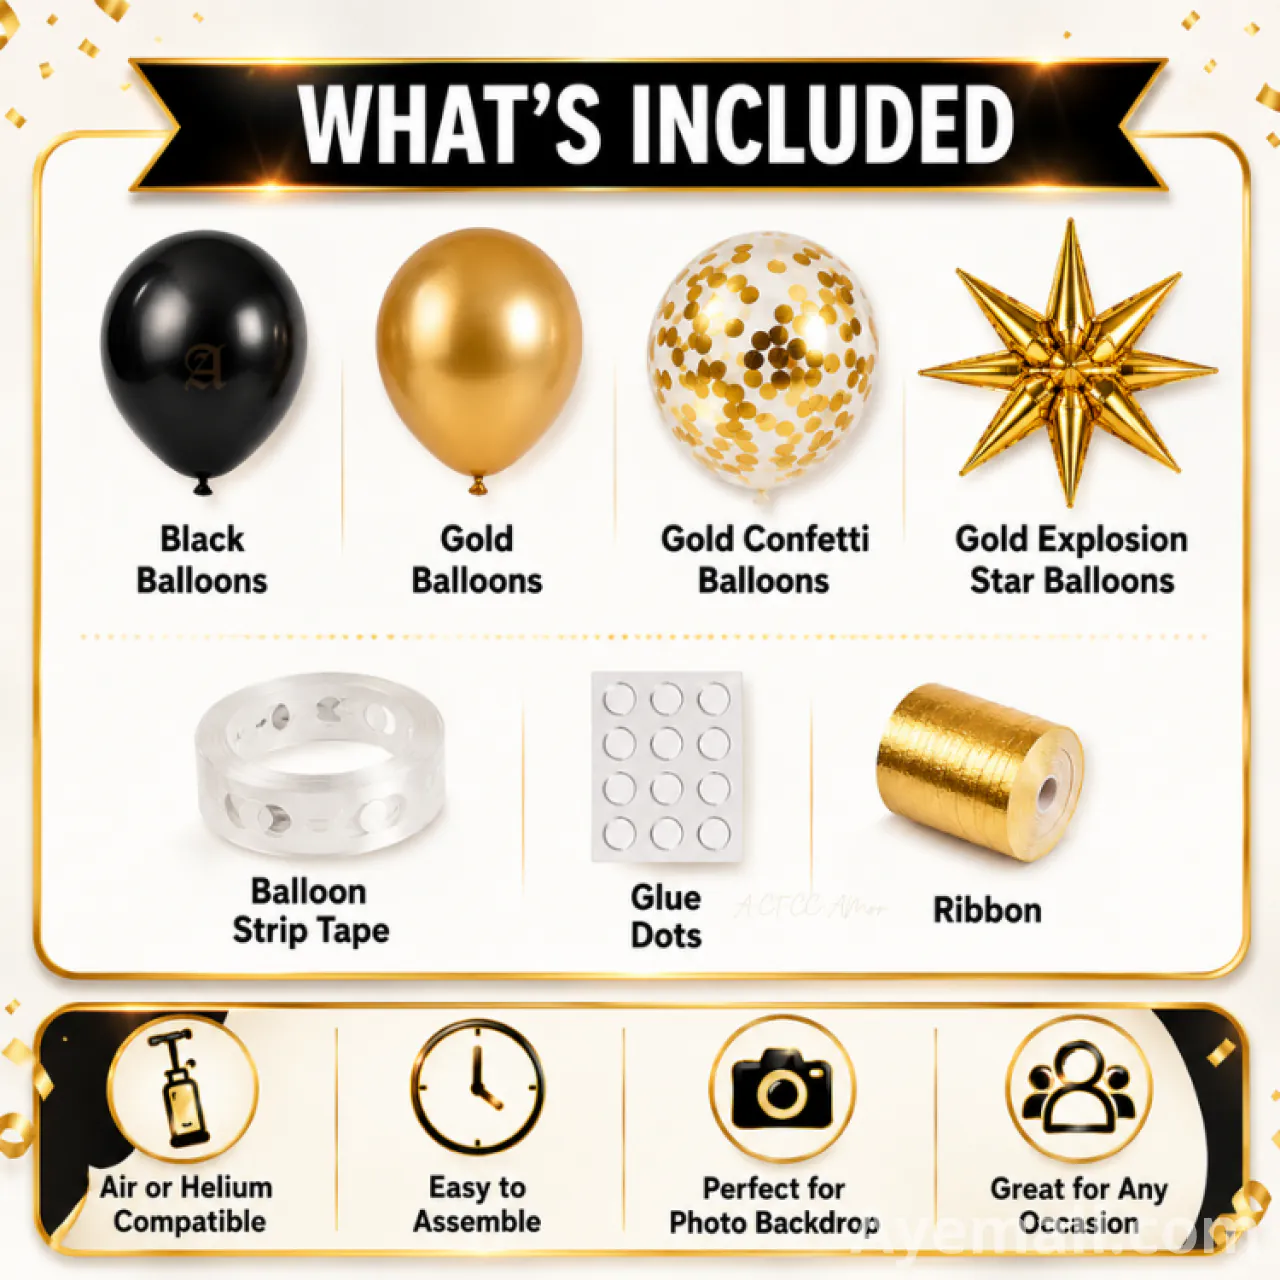
📦 What Comes Inside the Balloon Garland Kit
Before starting, organize all the included decorations and accessories:
- 🎈 Black balloons
- ✨ Metallic gold balloons
- 🌟 Gold confetti balloons
- 💥 Gold explosion star foil balloons
- 📏 Balloon strip tape
- 📌 Glue dots
- 🎀 Ribbon for hanging
The variety of balloon sizes helps create a fuller and more elegant organic balloon arch design.
🎈 Step 1: Inflate the Balloons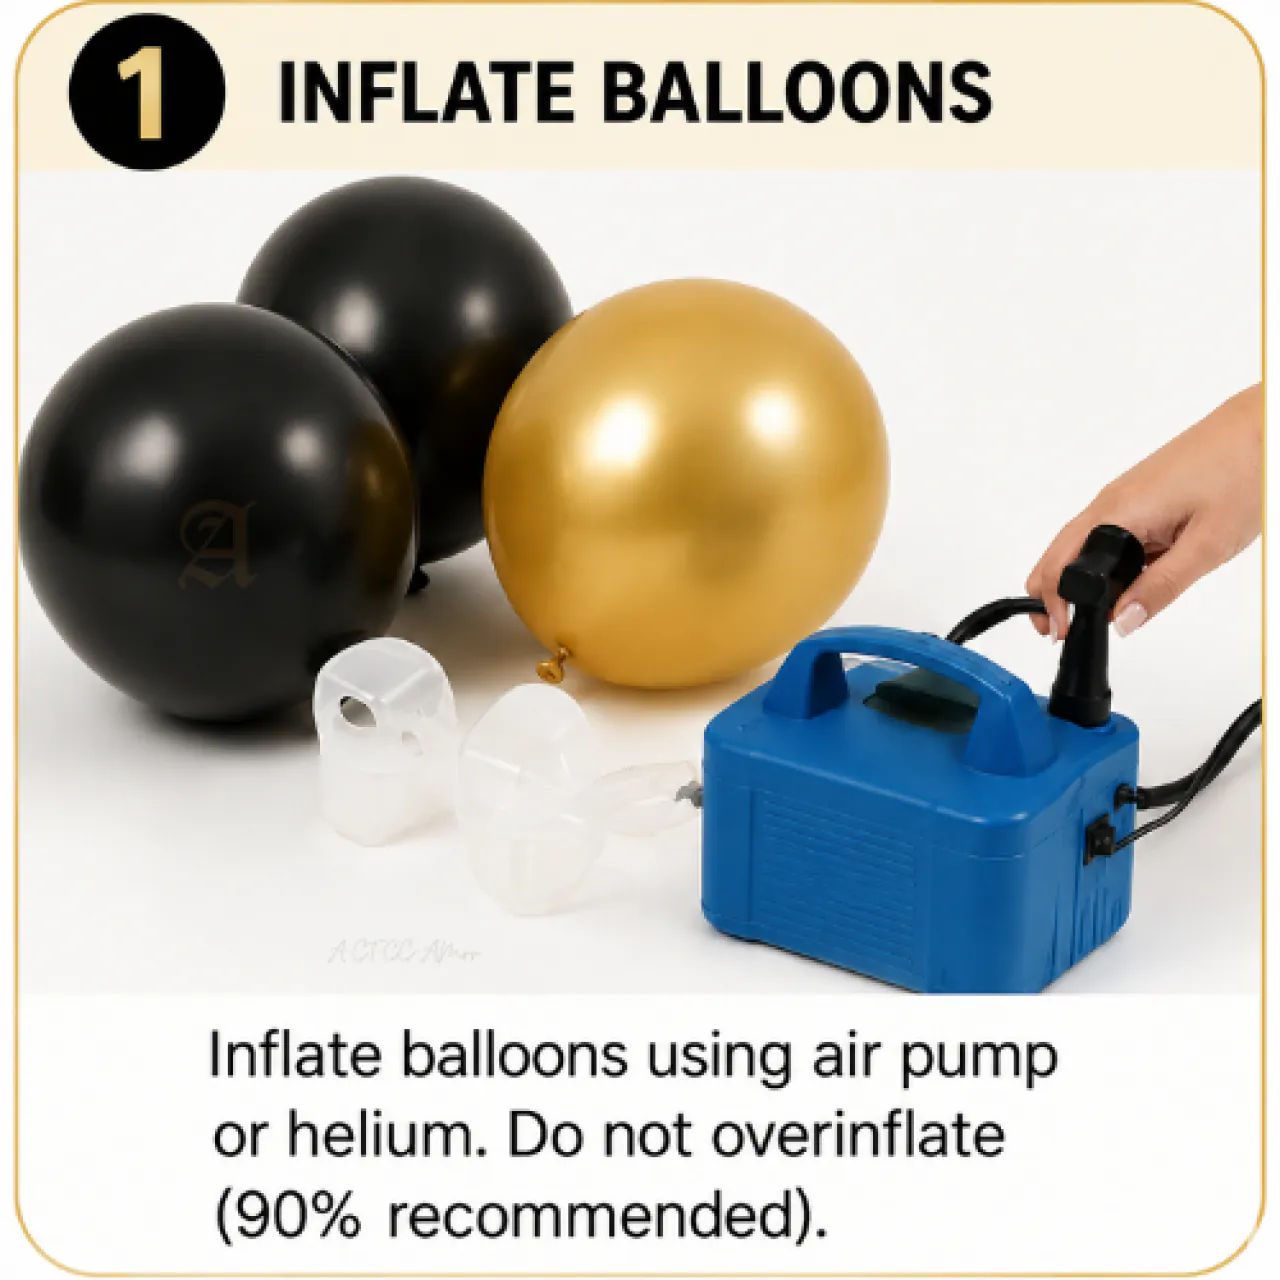
Start by inflating the balloons using:
- 💨 Electric balloon pump
- 🎈 Manual hand pump
- ☁️ Helium (optional)
For the best balloon garland results:
- Inflate balloons to different sizes for a layered luxury look
- Keep black and gold colors evenly balanced
- Inflate only up to about 90% full
✨ Mixing large and small balloons creates a trendy professional balloon arch appearance.
📌 Tips to Prevent Balloons from Popping
Balloon popping is common if balloons are overinflated or exposed to heat. Follow these simple tips to keep your decorations looking perfect throughout the event:
- ⚠️ Never overinflate balloons
- ☀️ Keep balloons away from direct sunlight
- 🔥 Avoid placing near heaters or hot lights
- ✂️ Keep sharp objects away from the setup
- 🕒 Assemble the garland a few hours before the event for the freshest appearance
These simple precautions help the balloon arch last longer and maintain its elegant look.
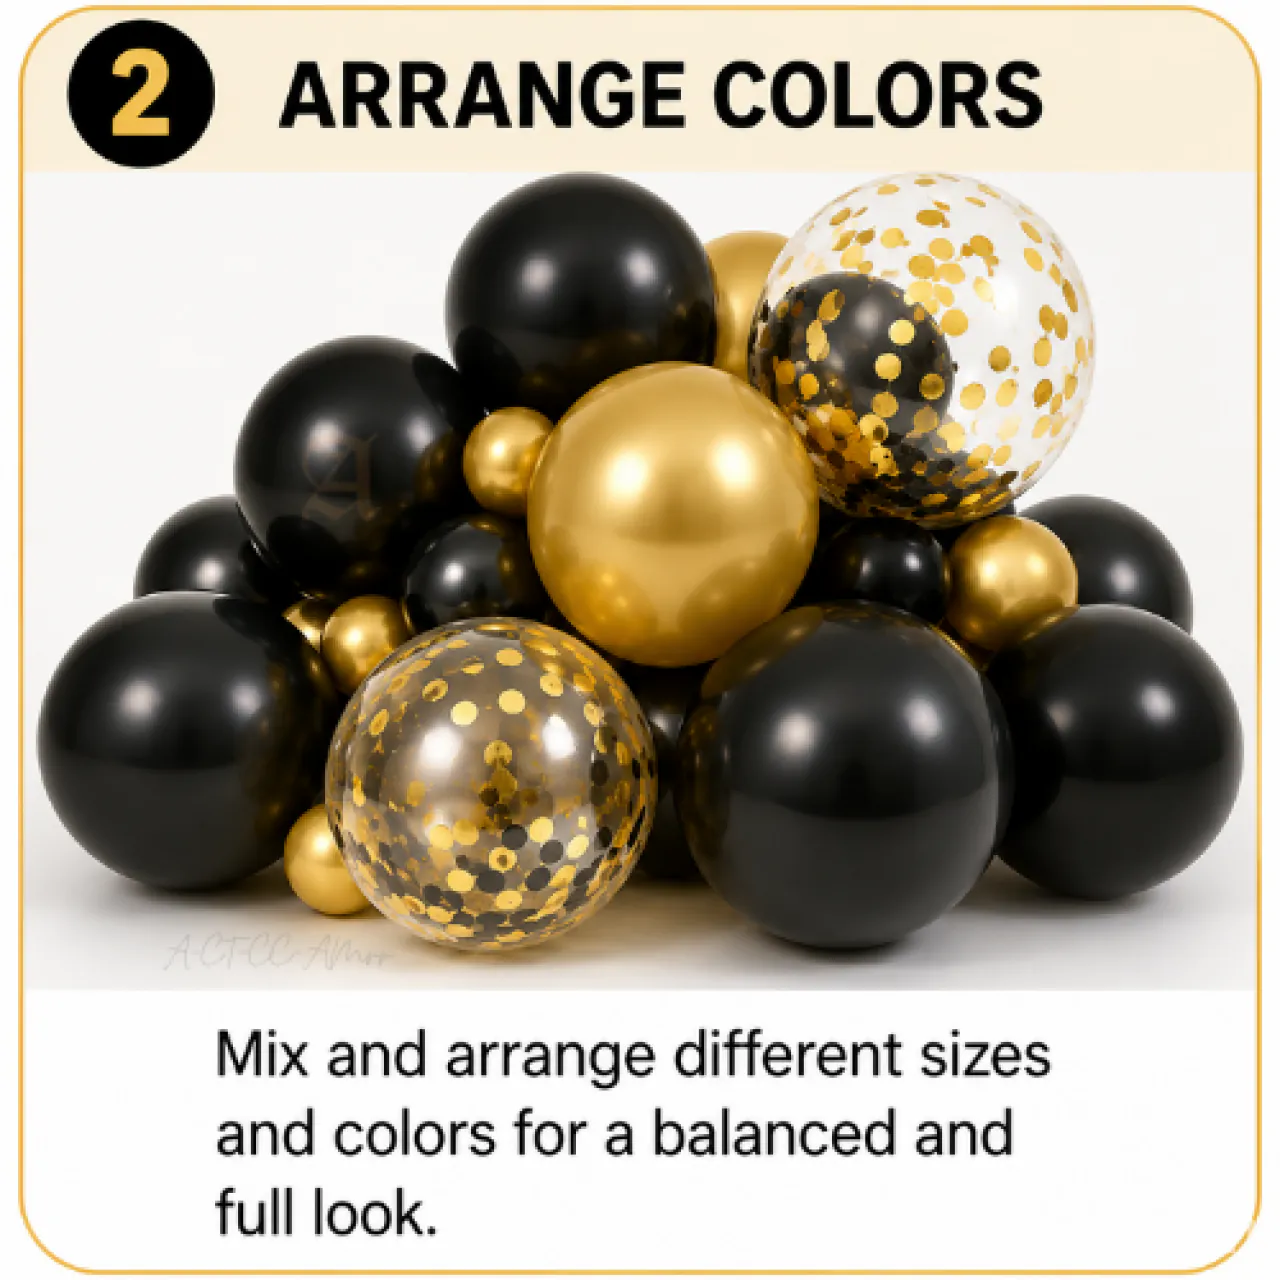
🎨 Step 2: Arrange Balloon Colors and Sizes
To achieve a luxury black and gold graduation decoration style:
- Alternate black and gold balloons evenly
- Place larger balloons first
- Add smaller balloons to fill empty spaces
- Spread confetti balloons throughout the garland
✨ Combining multiple balloon sizes creates a fuller and more expensive-looking design.
✨ How to Make Confetti Balloons Look Stunning
Confetti balloons add sparkle and visual excitement to the balloon garland, especially for photos and videos. 📸
To make them look their best:
- Rub the confetti balloons gently on a towel, carpet, or cloth
- This creates static electricity inside the balloon
- The confetti will stick beautifully around the balloon walls instead of falling to the bottom
💛 This simple trick makes the confetti balloons look much more vibrant and luxurious.
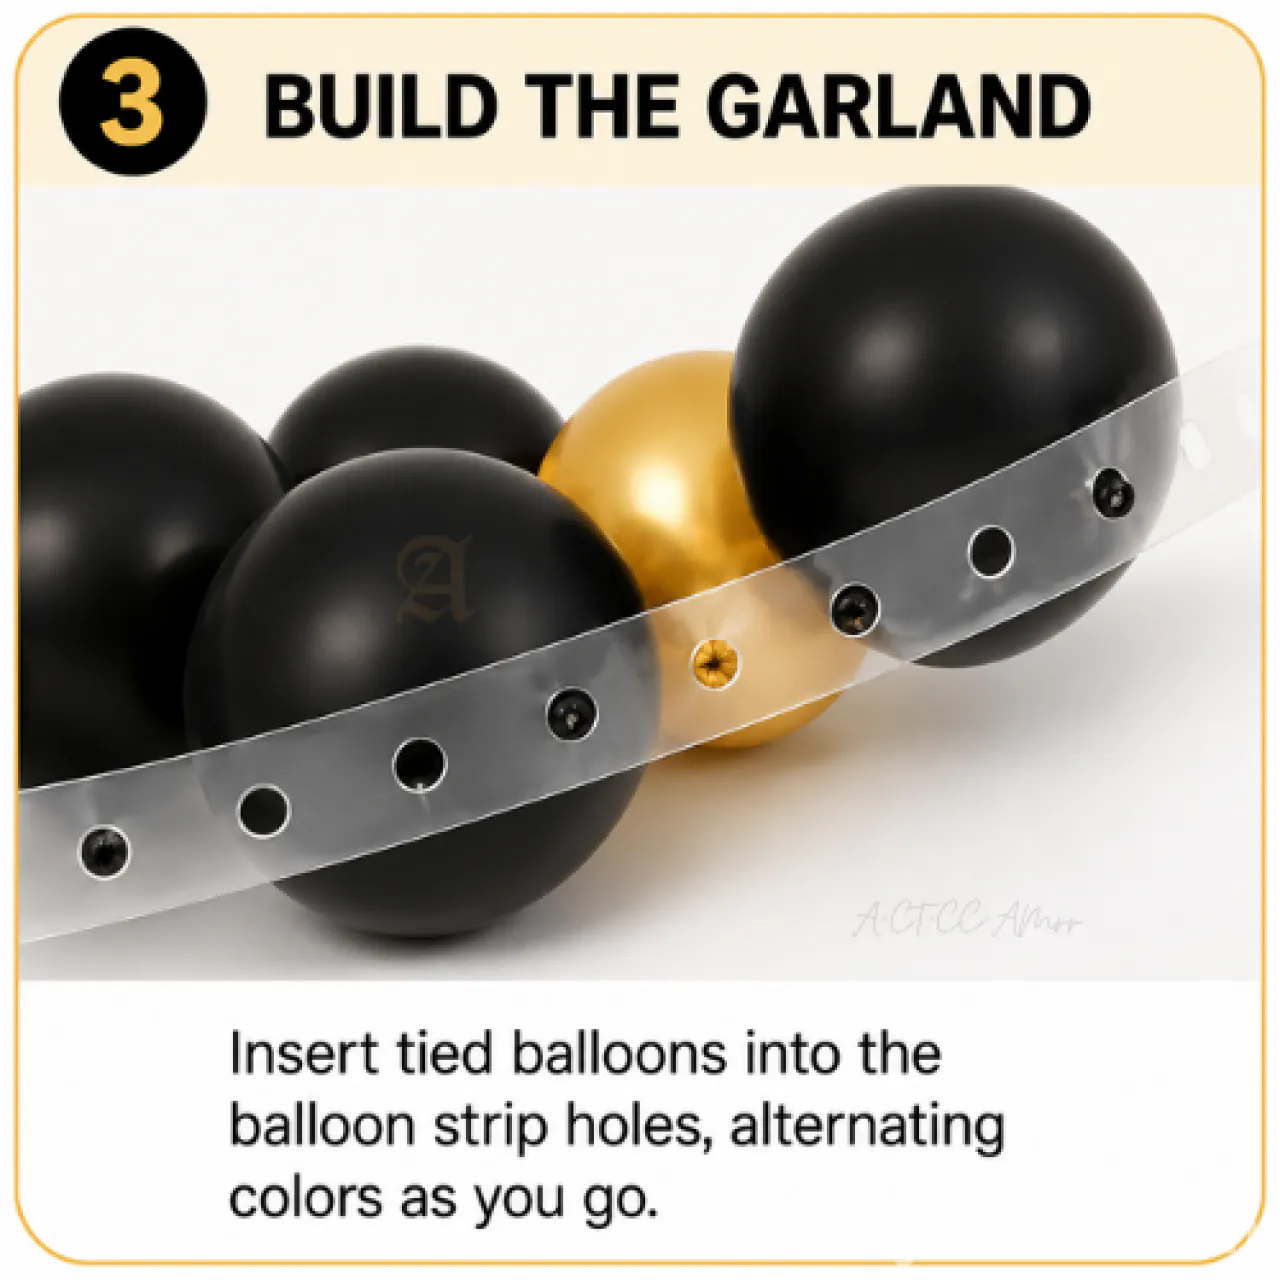
🛠️ Step 3: Build the Balloon Garland
Using the included balloon strip:
- Tie the inflated balloons securely
- Insert balloon knots into the strip holes
- Alternate balloon colors and sizes
- Continue building until the desired garland length is reached
The balloon strip acts as the main structure and makes the setup process beginner-friendly and fast.
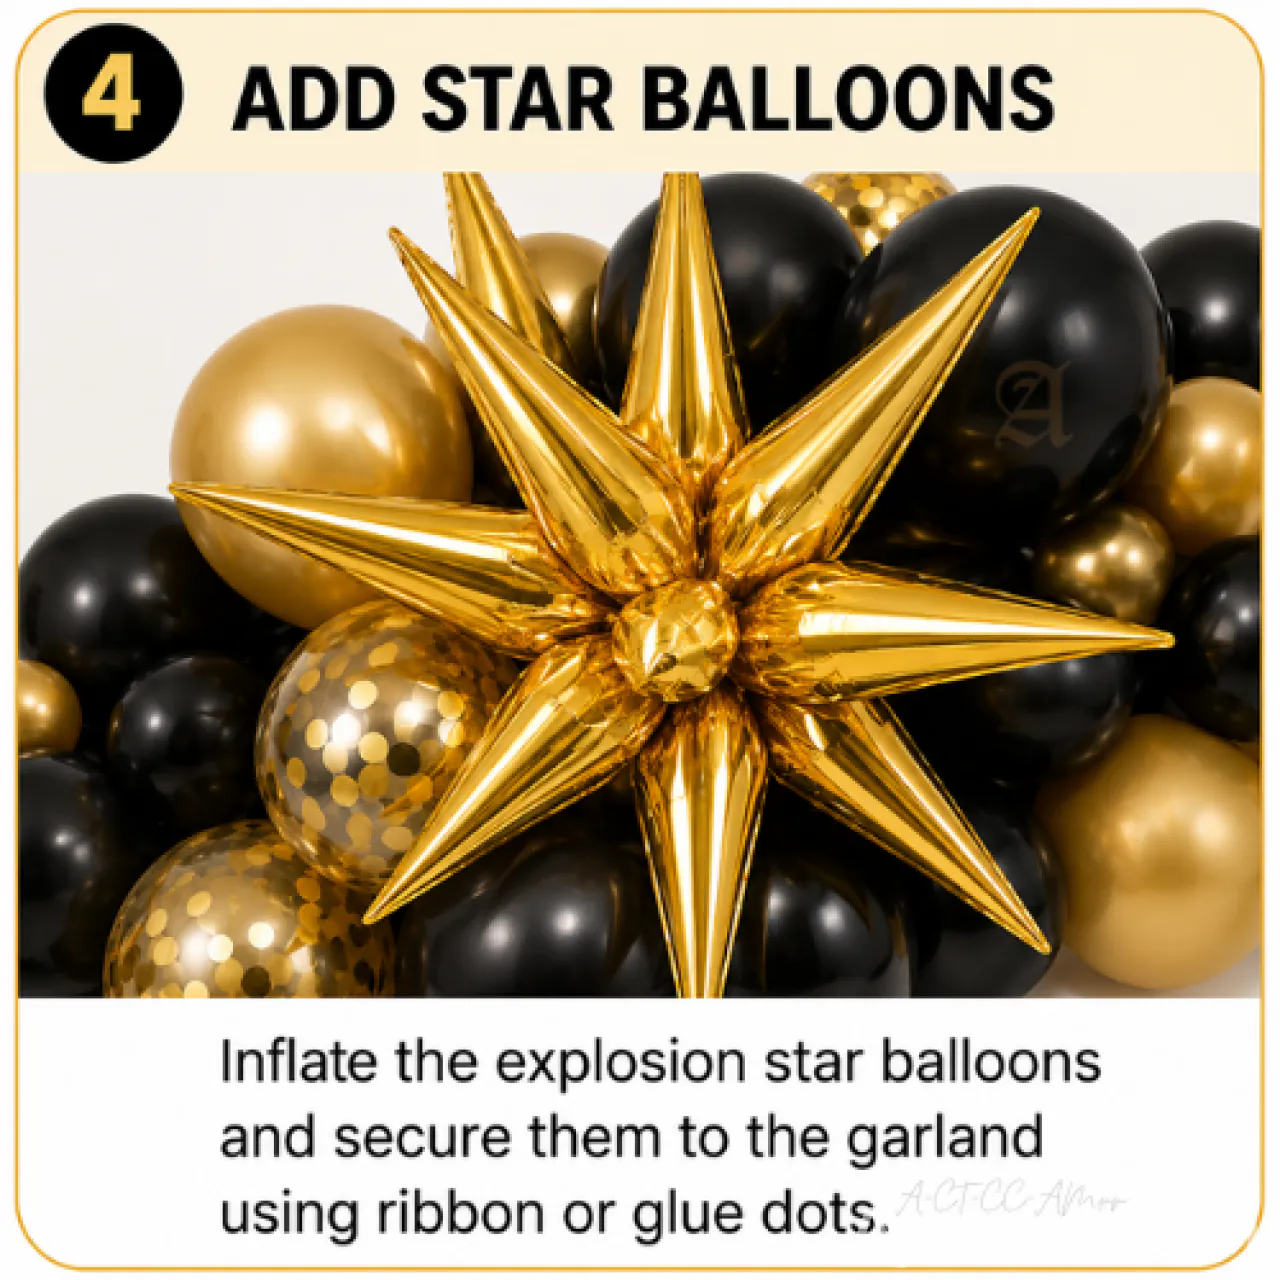
🌟 Step 4: Add the Gold Explosion Star Balloons
The large gold explosion star foil balloons are designed to become the centerpiece of the decoration. ✨
To attach them:
- Inflate carefully using air
- Secure them using ribbon or glue dots
- Position them near the top corners or center of the arch
These star balloons instantly create a glamorous luxury party vibe.
📌 Step 5: Fill Empty Spaces with Smaller Balloons
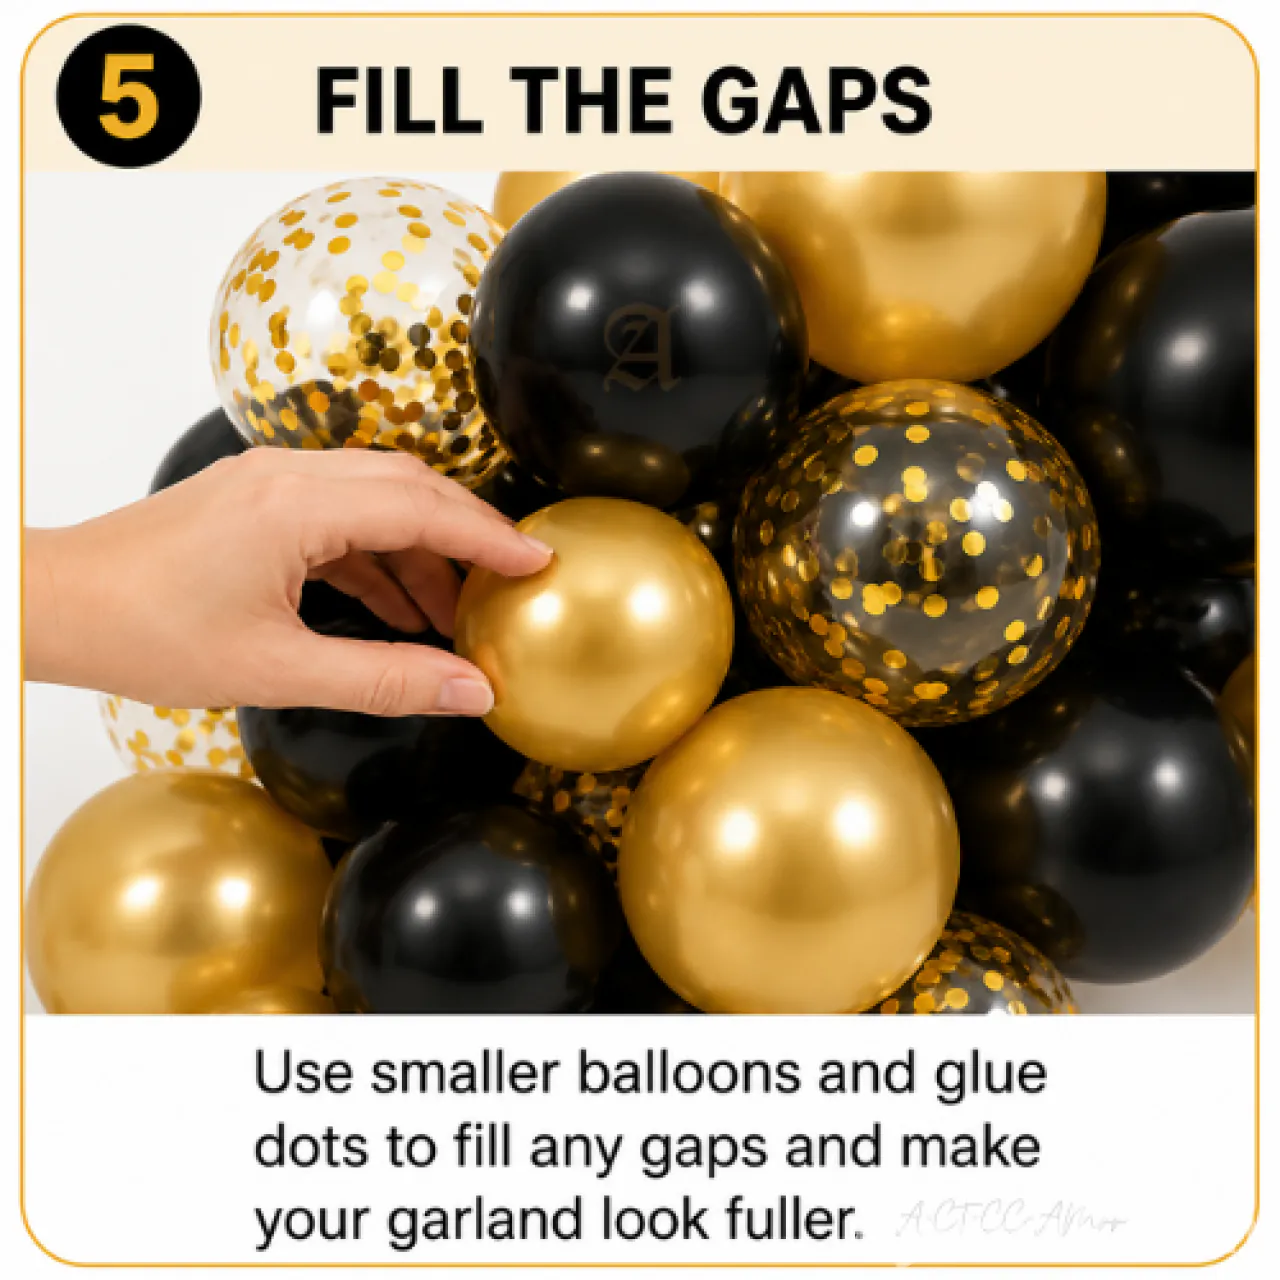
After the main structure is complete:
- Use glue dots to attach smaller balloons
- Fill visible gaps in the arch
- Add extra confetti balloons for sparkle and texture
This step creates the full organic balloon garland style commonly seen in professional event decorations.
📷 Best Placement Ideas for Photos and Videos
One of the best things about this Black and Gold Balloon Arch Kit is how amazing it looks in photos and social media content. 📸✨
Here are the best placement ideas:
🎓 Graduation Photo Backdrop
Place the balloon arch behind:
- Graduation tables
- Dessert stations
- “Class of 2026” signs
- Gift tables
🚪 Party Entrance Decoration
Create a grand entrance by placing the garland around doors or entryways.
🎥 Social Media Photo Spot
Set up the balloon arch near:
- Ring lights
- Natural window lighting
- LED signs
- Photo booth props
🎂 Cake Table Display
Position the garland behind the cake table for elegant centerpiece photos.
✨ Proper lighting makes the gold balloons shine beautifully on camera.
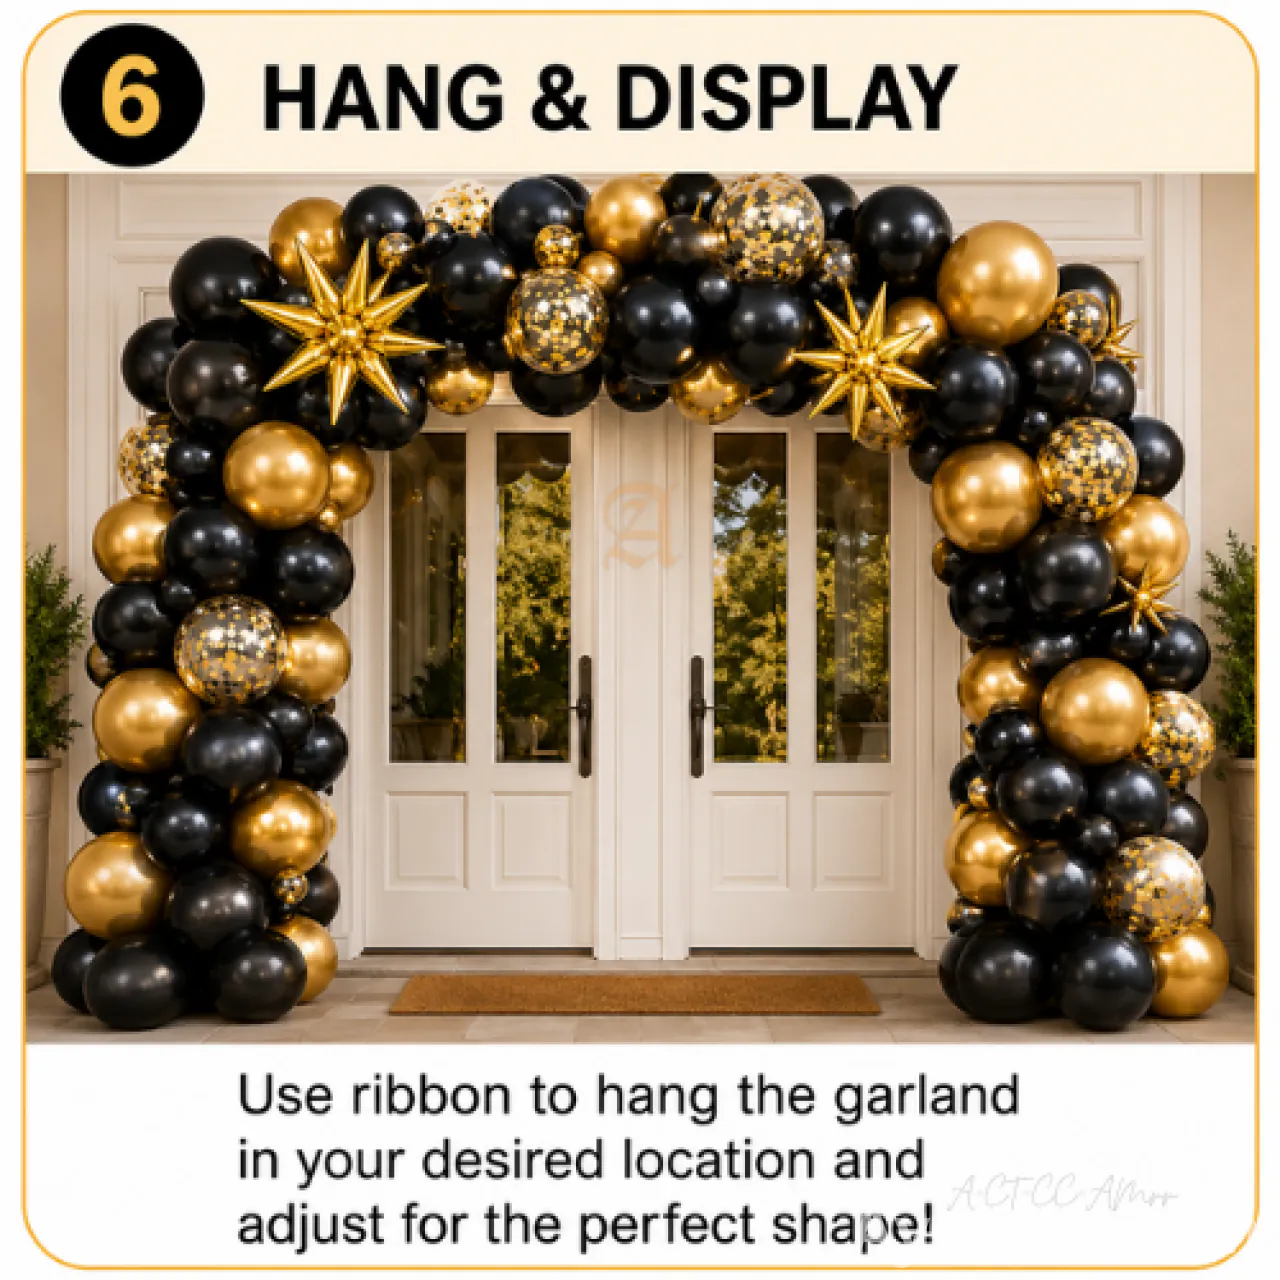
🎀 Step 6: Hang and Secure the Balloon Garland
Once completed:
- Use ribbon to hang the balloon arch
- Secure it to walls, stands, or backdrops
- Adjust the shape for the best visual balance
The flexible balloon strip makes it easy to curve and style the garland exactly how you want.

🎉 Final Thoughts
This Black and Gold Balloon Arch Kit is one of the easiest ways to create a stunning luxury-style party setup for graduation celebrations, birthdays, anniversaries, retirement parties, prom nights, and more. 🖤💛🎈
With premium balloons, easy DIY assembly tools, confetti accents, and glamorous gold star balloons, even beginners can create a professional-looking balloon garland that guests will love and photos will remember forever. 📸✨
👉 Check the product link for the latest deals, color options, customer reviews, and party inspiration before your next celebration!